My thoughts on Front-side / Backside tatting continue with this post to discuss color. Around 25 years ago, in one of the online chat groups (perhaps eTatters on Yahoo Groups), we were discussing and playing with the Magic Square concept of creating a "fabric" of tatting that would eliminate as much as possible the number of ends to hide. I probably have among my multitude of UFPs (UnFinished Projects) several magic square projects.
The picture below is the Clarke Magic Square from Roselyn Hobbs (her Etsy shop is named UrbanKnotDesign). Roselyn's original model is photographed with black thread. This pattern works up really quickly ... except when I looked back and realized I had left out a picot and set of double stitches on the "corner" floating ring or joined to the wrong set of the interior, small rings. I spent more time retro-tatting I think than I actually did tatting.

I had fun with this one as I wanted to play with color. The above picture is by no means a finished piece as it is only finger-blocked directly off my shuttles. The rings in the interior of the motifs are Lizbeth 20 (Mocha Brown Dk - #692). The chains and the rings off the chains (aka floating rings or thrown-off rings) are Lizbeth 20 (Pink Blossoms - #176). When I selected these colors, I was seeing crocus flowers from the earth. I also know that my tension is better when I tat on the front side for chains. This one was also an exercise in dealing with slightly different diameters of the thread due to the inherent differences between dark-colored thread and colorways. There are even differences in diameters sometimes along a colorway as it changes hues. Once I have blocked this and photographed it in good light on a neutral background, I will be really pleased with the results.
Just a couple of construction notations that work for me. Since I wanted the interior rings to be tear-dropped shaped and they were tatted on the backside as RODS, I dropped the shuttle through the ring (back to front) before closing the ring. I didn't fuss overly much when adding a new thread for the colorway but I did find that adding the thread where I tat-over-tails in one of the larger rings was very helpful. My picot gauge was a large, vinyl-covered paperclip that I had straightened and used in the horizontal (parallel to the core thread) position.
The joins on the solid-colored rings were counted as the first half of the next double stitch. Since this was on the backside of the ring, the join was an up-join followed by a "d" half stitch. The "s" and "d" half stitches until the required number of double stitches was accomplished.
For the joins on the colorway (which are front side tatting), all joins were up-joins and NOT counted in the stitch count. Additionally, the shuttle was dropped through the ring (front to back) for the floating rings as I wanted a rounder appearance for those rings. By dropping the shuttle through, the shuttle also goes to the proper orientation for the chain work.
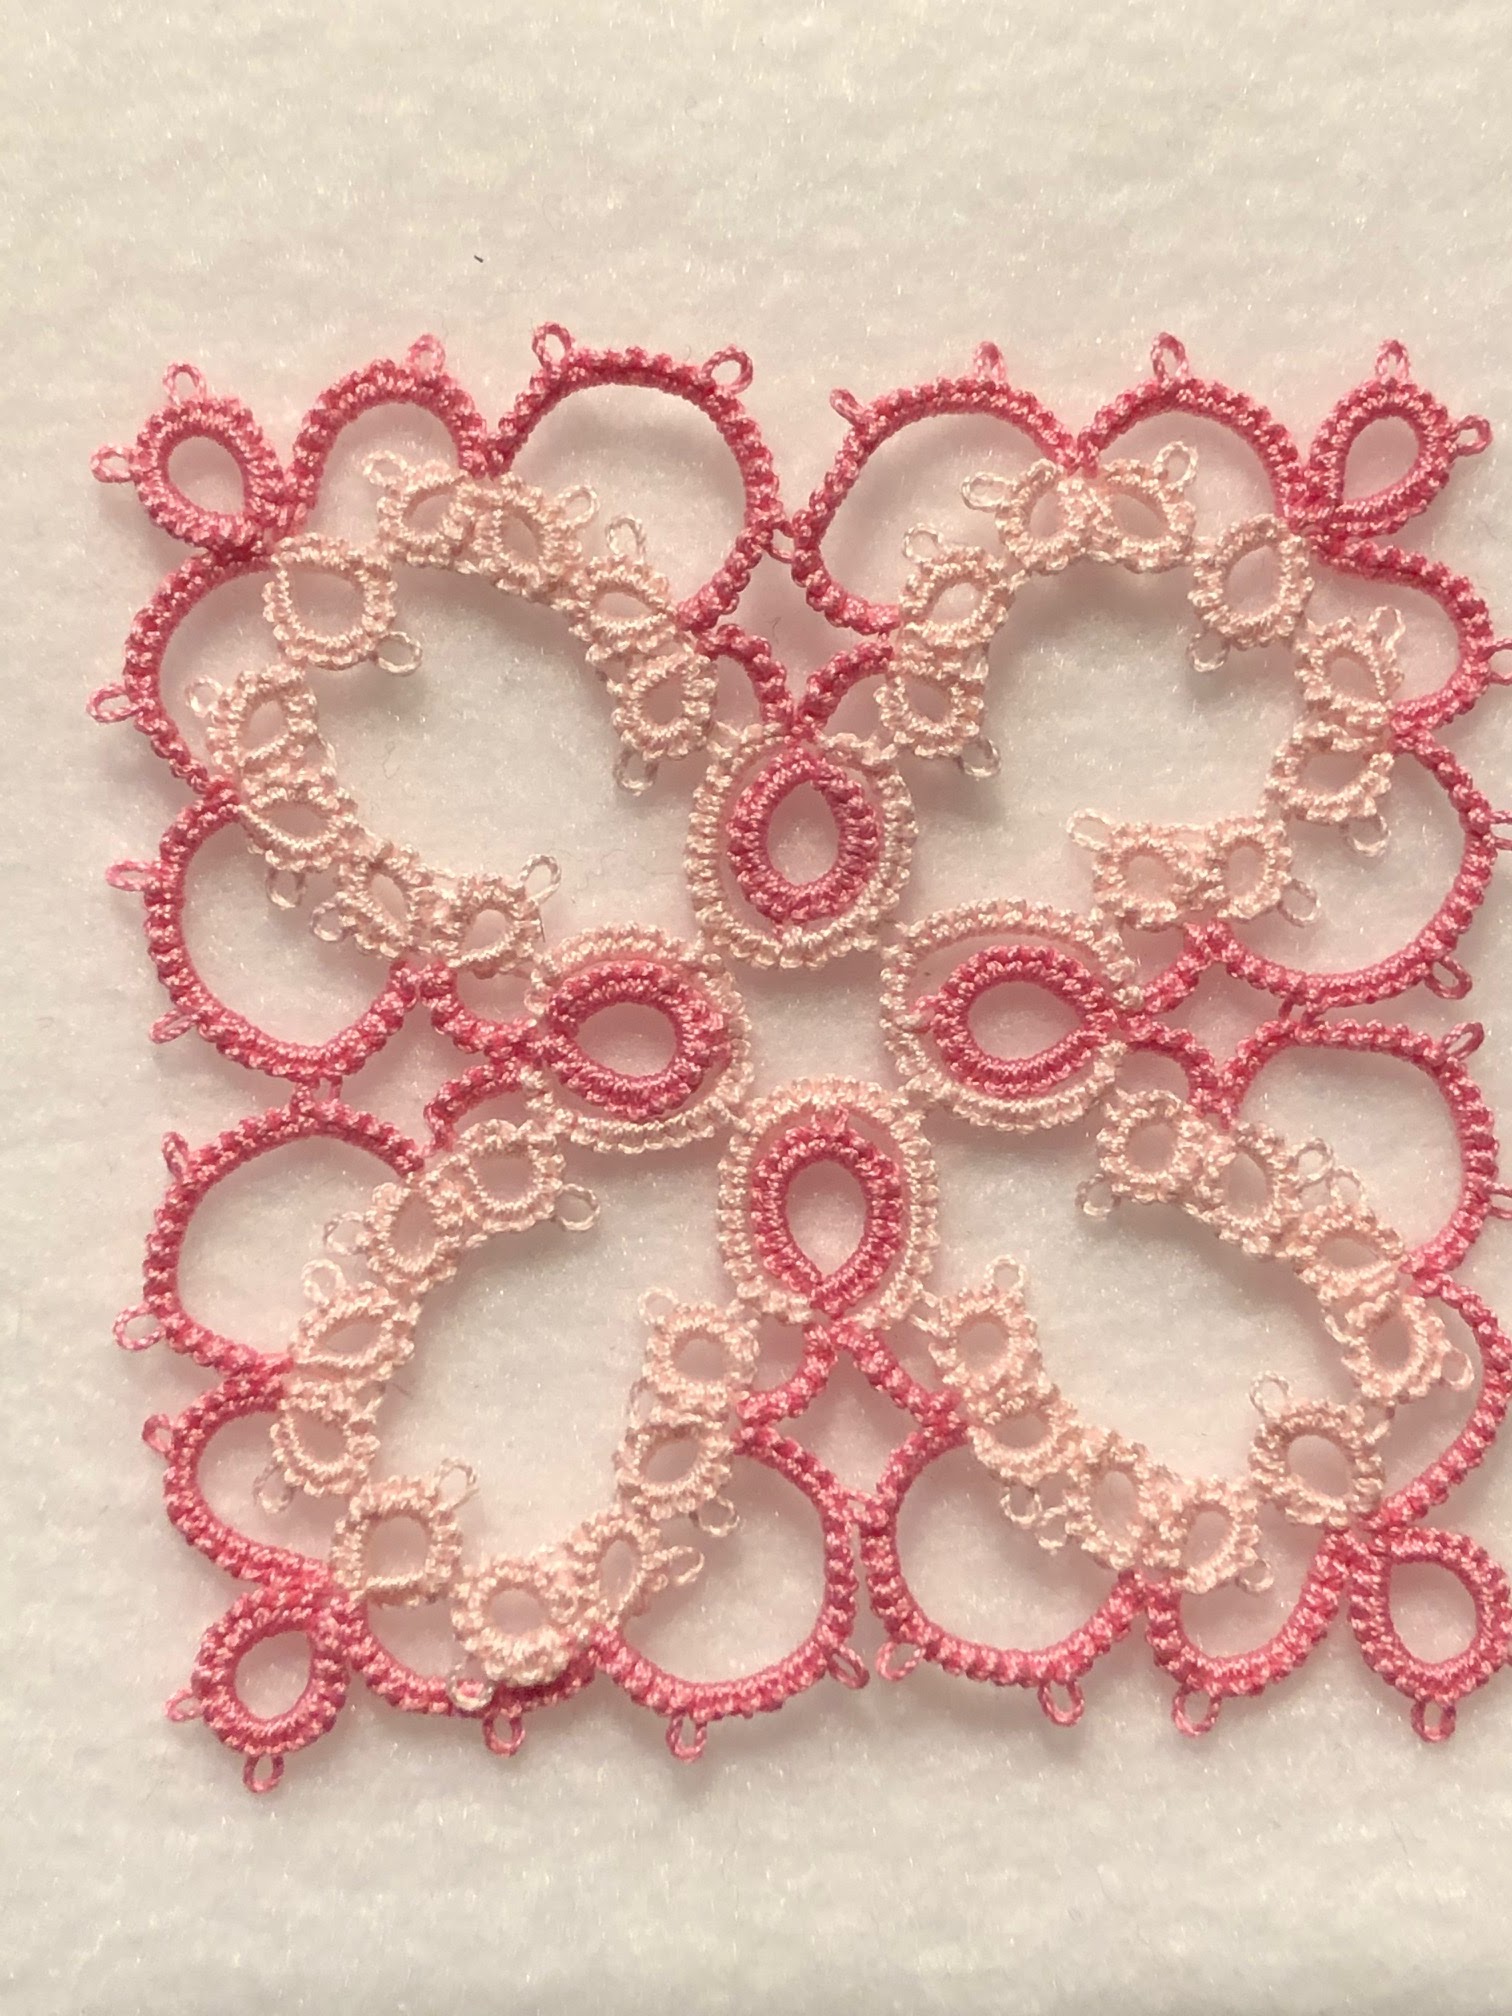
More discussion on color involves just a change of color position. If you look at the two examples of Robin Perfetti's Onion Ring Magic Squares, the color selection for the smaller rings makes a real statement as to the appearance. For the pink one, the pale pink interior rings nearly disappear into the background. The blue-toned one uses navy blue for the interior rings which is a stark contrast to the blue colorway.


No comments:
Post a Comment